
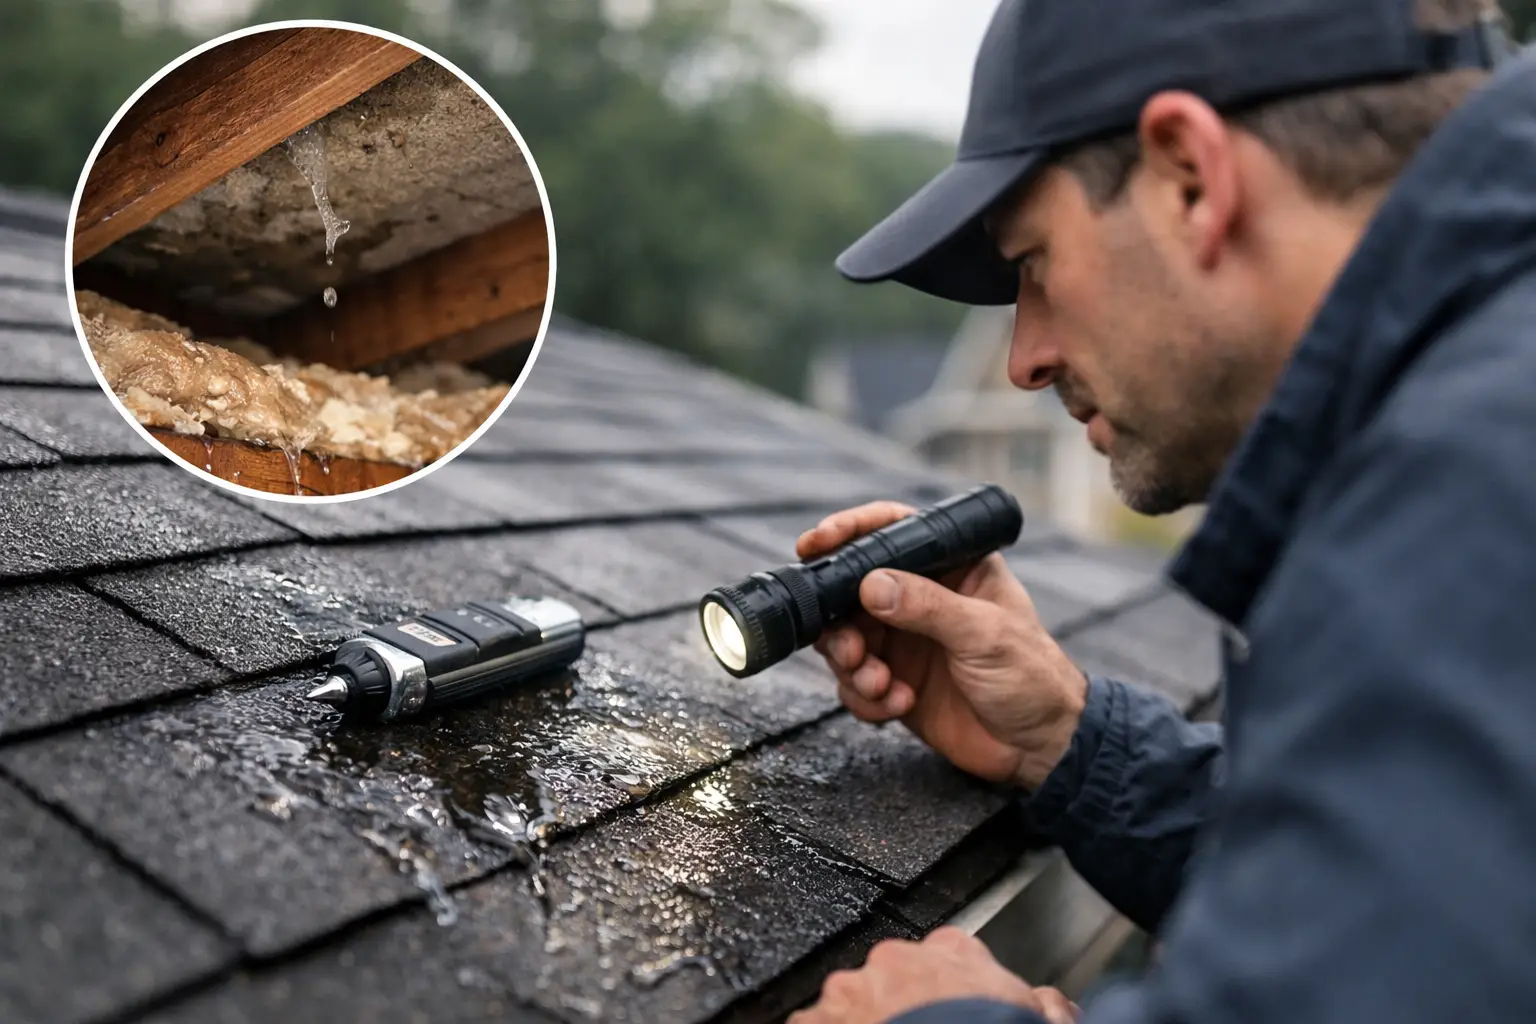
A brown ring on the ceiling after a hard rain is rarely where the problem begins. Water can enter near a roof penetration, travel along framing or insulation, and show up several feet away inside your home. That is why knowing how to find roof leaks means following the water’s path instead of assuming the stain marks the entry point.
For metro Detroit homeowners, this matters even more after wind-driven rain, freeze-thaw cycles, heavy snow, and ice dams. A small leak can damage insulation, framing, drywall, and electrical components long before it becomes an obvious ceiling drip. The goal is to identify the likely source safely, document what you see, and know when a repair is appropriate versus when the roof system needs a closer look.
Start Inside, Not on the Roof
The attic often provides the clearest evidence. Check it during daylight hours, ideally soon after rain or snowmelt. Bring a flashlight, wear stable shoes, and step only on framing members or a properly supported walking surface. Do not walk directly on attic insulation or drywall.
Look for damp or compressed insulation, dark wood, water marks on rafters, rusty nail tips, mildew, or a musty smell. A single rusty nail does not always mean an active leak. Condensation can create similar signs, particularly where bathroom exhaust vents are poorly connected or attic ventilation is limited. What matters is the pattern: concentrated staining, wet material, or a trail that points upslope toward a likely entry area.
Use your phone to photograph the affected spot and any nearby features visible above it. Note whether it sits below a plumbing vent, chimney, roof valley, skylight, or exterior wall. These details help narrow the search and give a roofing professional useful context if an inspection is needed.
Check the Ceiling and Walls for Timing Clues
Inside living spaces, look beyond the most noticeable stain. Fresh leaks may leave a yellow or brown ring, bubbling paint, soft drywall, or a damp spot around ceiling-mounted fixtures. Older stains may be dry and unchanged, which can mean a past issue was repaired or that the leak only occurs under specific weather conditions.
Timing is a valuable clue. A drip during steady rainfall often points to damaged shingles, flashing, valleys, or penetrations. Water appearing only after snow and ice may be related to an ice dam. A stain that worsens during strong wind from one direction can indicate wind-driven rain entering around flashing, siding transitions, or a roof-to-wall connection.
How to Find Roof Leaks From the Ground
A ground-level inspection is safer than climbing onto a wet, steep, or aging roof. Walk around the house after a storm and use binoculars or your phone’s zoom to inspect the roofline. You are looking for visible damage and drainage problems, not trying to diagnose every detail from the yard.
Pay close attention to missing, lifted, cracked, curled, or darkened shingles. Architectural shingles can hide damage better than older three-tab shingles, so look for irregular lines, exposed nail heads, and areas where the shingle pattern no longer sits flat. Wind damage is often easiest to spot near ridges, hips, and roof edges.
Also inspect the areas where water changes direction or meets another material. Roof valleys, chimneys, skylights, plumbing vents, dormers, and sidewalls depend on properly installed flashing to stay watertight. If flashing is bent, loose, rusted, visibly caulked in multiple places, or pulling away from masonry, it deserves professional attention.
Gutters matter here too. Overflowing gutters can force water behind the gutter or against the fascia, creating rot that may look like a roof leak from indoors. Check for standing water, loose sections, disconnected downspouts, and gutters clogged with leaves or shingle granules. Granules in a gutter are not automatic proof that a roof is failing, but a sudden heavy accumulation can signal advanced shingle wear.
Focus on the Most Common Leak Locations
Most roof leaks happen at details, not in the middle of an intact shingle field. A useful inspection follows the places where the roof has an opening, seam, edge, or change in slope.
Vents, Pipes, and Exhaust Terminations
Rubber pipe boots around plumbing vents can crack with age and Michigan temperature swings. The pipe may remain solid while the rubber collar splits or pulls away. Dryer, bathroom, and kitchen exhaust vents can also leak if their flashing is loose, improperly integrated with shingles, or covered with debris.
If moisture is concentrated near a vent in the attic, confirm that the duct itself is connected and insulated. A disconnected bath fan duct can release warm, humid air into the attic and mimic a roof leak through condensation.
Chimneys, Skylights, and Wall Flashing
Chimneys require several layers of protection, including flashing where the roof meets the chimney and properly maintained masonry above it. Cracked mortar or an uncapped chimney can allow water into the structure, while flashing issues allow water beneath the roofing material. These are different problems that can produce similar stains.
Skylights can leak at their glass seals, their frame, or their flashing system. Caulking around a skylight may appear to stop water temporarily, but it is not a dependable substitute for correct flashing. The same is true for roof-to-wall areas, where step flashing should direct water safely down the roof rather than behind siding.
Valleys, Ridge Lines, and Low-Slope Sections
Valleys collect runoff from two roof planes, so small defects there can move a lot of water. Look for damaged shingles, exposed fasteners, debris buildup, or deteriorated sealant. Ridge caps and low-slope transitions also deserve attention because wind and standing water can exploit weak installation details.
Avoid scraping, lifting shingles, or applying roof cement as a test. Disturbing the roofing material can create a new problem, complicate a warranty claim, and make the original source harder to identify.
Use a Controlled Water Test Carefully
If the roof is dry, conditions are safe, and the leak is intermittent, a controlled hose test can help isolate the area. This works best with two people: one person watches from the attic while the other applies water from the ground or a safely positioned ladder.
Start low on the suspected area and work upward slowly. Apply water for several minutes at one small section before moving higher. Do not blast the roof with a pressure nozzle or spray water upward beneath shingles, because that can force water into places rain normally would not reach.
Stop as soon as water appears inside and document the exterior location. If there is no visible attic access, if the roof is steep, or if the suspected area is near power lines, skylights, or a chimney, skip this step. A licensed and insured roofing crew can inspect these details without adding unnecessary risk.
Separate Roof Leaks From Condensation and Ice Dams
Not every damp attic or stained ceiling comes from a failing roof. Condensation tends to appear broadly on roof sheathing or around ventilation and ductwork, often during very cold weather. Roof leaks usually create a more defined path or localized wet spot after precipitation.
Ice dams are another common southeast Michigan concern. Heat escaping into the attic can melt snow on the upper roof. That water refreezes at colder eaves, forming a ridge of ice that blocks drainage. As more snow melts, water can back up under shingles and enter the home.
Removing visible icicles does not solve the underlying issue, and chopping ice off the roof can damage shingles and gutters. Long-term prevention may involve improving attic air sealing and insulation, correcting ventilation, and making sure the roofing system and edge details are in sound condition. The right solution depends on the home, its roof design, and where the ice is forming.
When a Repair Makes Sense and When It May Not
A localized issue around a pipe boot, vent, or flashing detail can often be repaired when the surrounding roof is in good condition. Repairs are more reasonable when shingles are still flexible, the roof has meaningful remaining service life, and the damage is confined to one identifiable area.
A broader conversation is warranted when leaks recur in multiple locations, shingles are brittle or losing granules, flashing has been repeatedly patched, or the roof is near the end of its expected life. Repeated spot repairs can cost more over time while leaving the home exposed to the next failure point.
Ask for the scope in writing. A clear estimate should explain what area is being repaired, which materials are included, whether any decking damage is visible or possible, and how the work is warranted. That level of detail helps prevent the vague, open-ended repair recommendations homeowners rightly question.
Protect the Home While You Arrange an Inspection
If water is actively dripping, move furniture and electronics away from the area and place a container beneath the leak. If the ceiling is bulging, do not stand under it. Water can accumulate above drywall and cause part of the ceiling to collapse. Turn off power to the affected area if water is near a light fixture or electrical wiring, then contact a qualified professional.
For a non-emergency stain, keep records of the weather, the location, and photographs from the attic and exterior. Avoid covering the evidence with paint before the source is identified. A clean, documented inspection gives you a better chance of getting an accurate repair recommendation with no hidden costs.
A roof leak is not always a full roof replacement, but it is always worth taking seriously. A careful inspection of the attic, drainage system, and roof details can turn an uncertain ceiling stain into a clear next step before a small entry point becomes expensive interior damage.
Need this done on your Downriver home?
Guthix Roofing is based in Wyandotte and serves Downriver and Wayne County. See roof leak repair from a licensed local roofer, or get an instant satellite-measured price in about a minute — just your name and mobile, no phone call.