A roof can look perfectly fine from the street while a small gap around a chimney, vent, or wall is letting water in. That is why knowing how to inspect roof flashing matters. Flashing is the metal material that directs water away from the roof’s most vulnerable transitions. When it fails, the first clue may be a ceiling stain, rotted roof decking, or a leak that only appears during wind-driven rain.
For most homeowners, the safest inspection happens from the ground, through a window, and inside the attic. You do not need to walk on the roof to identify many warning signs. In fact, walking on aging shingles or steep roof slopes can create a safety risk and may cause damage.
What Roof Flashing Does
Roof flashing is usually made from galvanized steel, aluminum, copper, or another corrosion-resistant metal. It is installed where shingles alone cannot reliably shed water: around chimneys, plumbing vents, skylights, valleys, dormers, and the places where a roof meets a wall.
A properly installed flashing system works with the shingles, underlayment, and water-shedding slope of the roof. It is not simply caulked over the top. Some sealant may be used at specific points, but the lasting protection comes from correctly layered materials that move water onto the roof surface and toward the gutters.
That distinction matters when you inspect your roof. A thick bead of sealant may temporarily hide a problem, but it can also signal that someone tried to patch a loose, rusted, or improperly installed flashing detail.
Start With a Safe Ground-Level Check
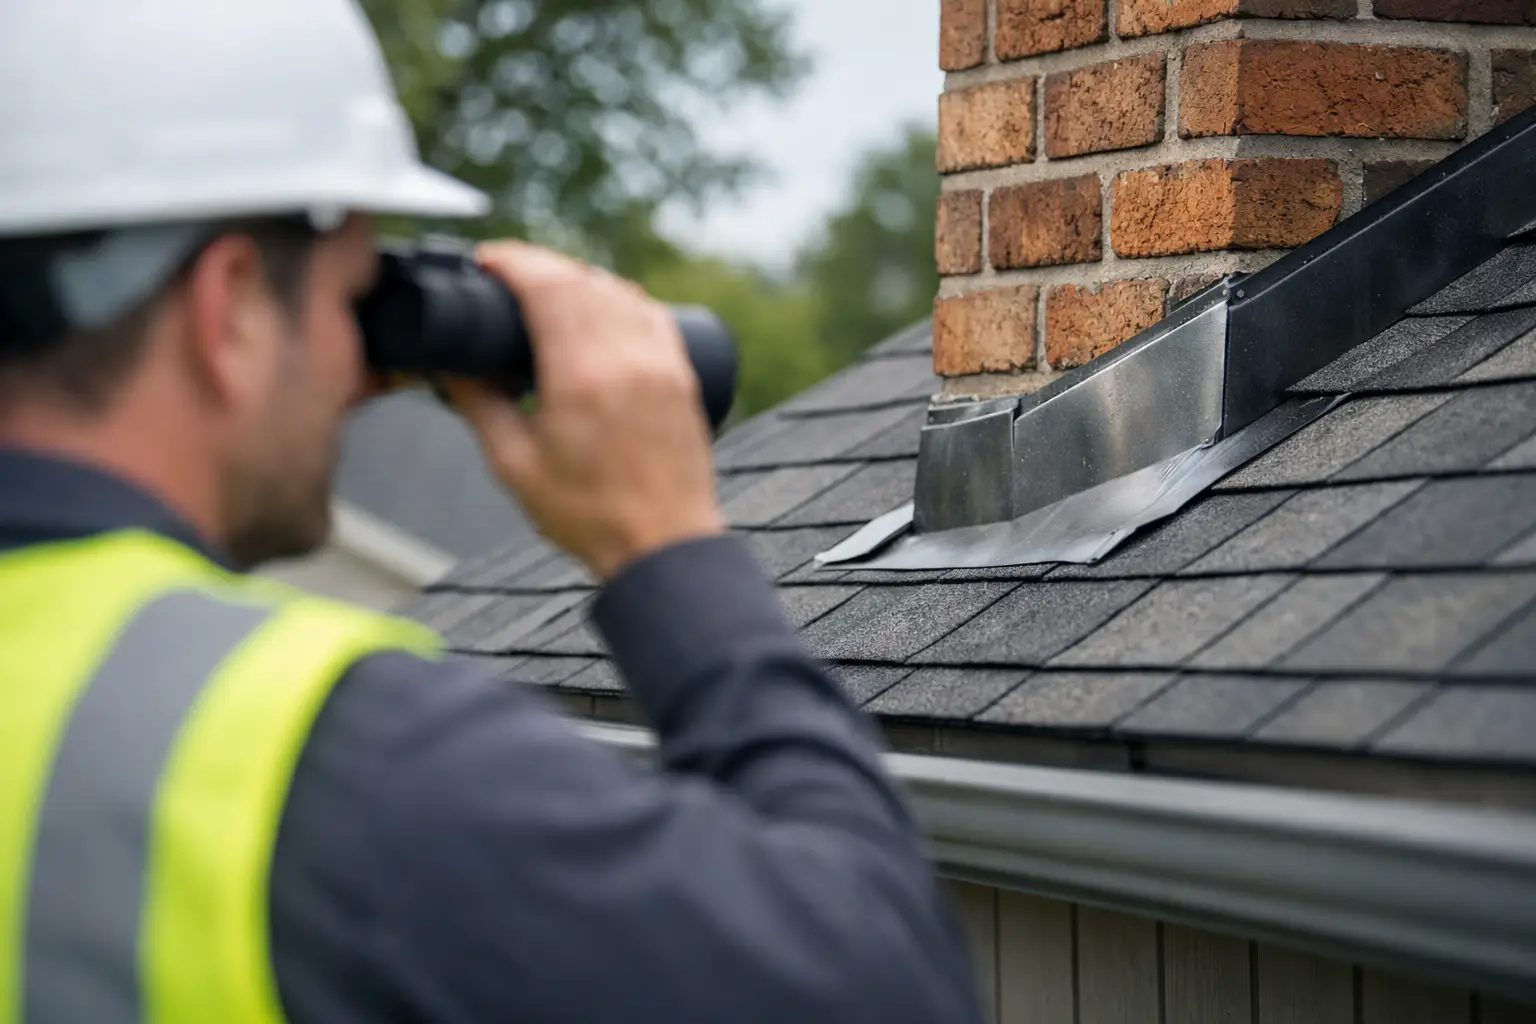
Choose a dry day with good daylight. Stand far enough back to see the roof planes clearly, and use binoculars or your phone camera’s zoom function if needed. Look at each area where the roof changes direction or meets another structure.
Pay close attention to flashing around the chimney. Chimneys are a common leak location because they interrupt the flow of water down the roof. From the ground, look for bent metal, missing pieces, visible gaps, rust streaks, or dark staining on the shingles below the chimney. If the chimney flashing looks heavily covered in roofing cement, cracked sealant, or mismatched patch material, it deserves a closer professional inspection.
Next, look at plumbing vent pipes. These usually have a metal or rubber flashing boot around the base. A boot that is cracked, pulled up, tilted, or visibly split can allow water to enter around the pipe. Rubber components often wear faster than surrounding shingles, especially after years of Michigan freeze-thaw cycles and summer heat.
Check skylights, dormer walls, and roof-to-wall intersections as well. Look for loose metal edges, lifted shingles, or debris trapped where the roof meets the vertical wall. Leaves and branches hold moisture against flashing and can slow drainage during heavy rain.
Inspect Flashing From the Attic
The attic can reveal what the exterior view cannot. After a rainstorm, bring a flashlight into the attic and inspect the underside of the roof near chimneys, vents, skylights, and valleys. Do not step on the insulation or drywall ceiling. Walk only on properly supported framing or use the access area safely.
Look for damp wood, dark water marks, mold-like spotting, wet insulation, or a musty smell. Fresh leaks may show up as glossy or darker patches on roof decking. Older leaks often leave brown rings or streaks, even when the area is dry at the moment.
Water does not always enter directly above the stain you see indoors. It can travel along roof decking, rafters, nails, or insulation before reaching the ceiling. If you find moisture in the attic, note the closest roof feature above it. That information helps a roofing professional trace whether the source is chimney flashing, a vent boot, a valley, damaged shingles, or another detail.
Warning Signs That Flashing May Be Failing
Some flashing problems are visible. Others show up inside the home long before the metal itself can be seen clearly. Watch for these signs, especially after a major storm or a season of repeated freeze-thaw weather:
- Rust, corrosion, holes, bends, or lifted edges in exposed metal flashing
- Cracked, shrunken, or missing sealant around a chimney, skylight, or vent
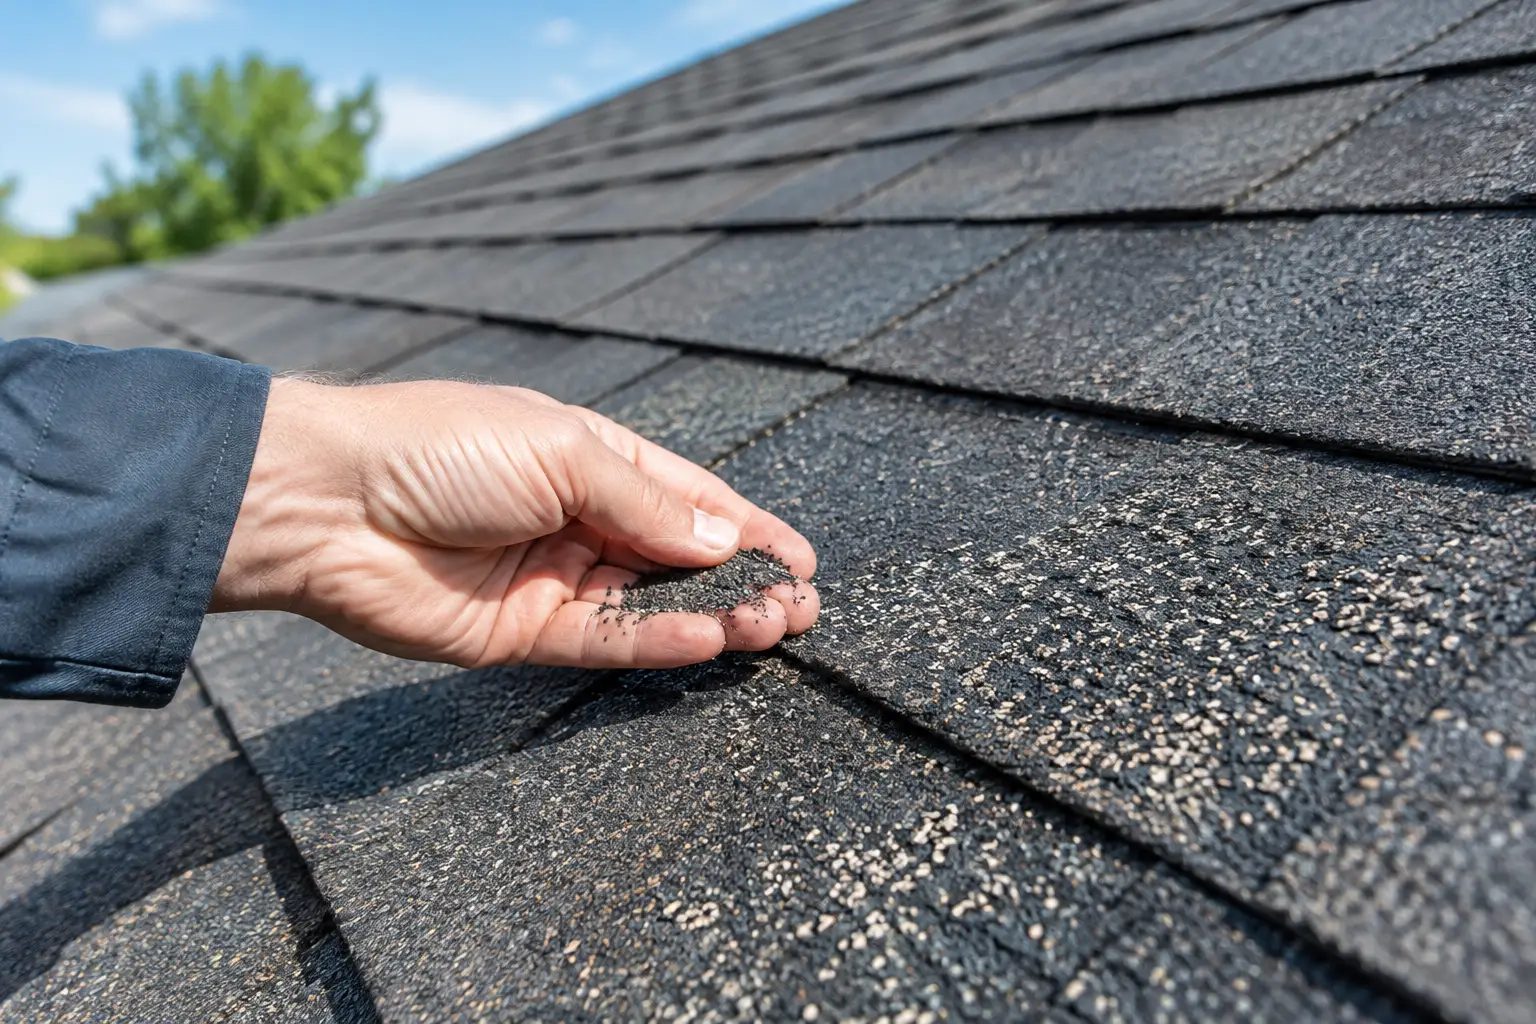
- Granules collecting heavily below a roof transition or at the base of a chimney
- Water stains, peeling paint, bubbling drywall, or damp spots near ceilings and exterior walls
- Musty attic odors, wet insulation, or dark marks on roof decking
- Loose shingles or exposed fasteners near flashing details
One sign does not always mean the flashing alone is at fault. For example, a ceiling stain near a chimney could come from flashing, masonry cracks, a chimney cap issue, or condensation. The goal of a homeowner inspection is to identify the concern early, not to diagnose every layer of the roof system from the ground.
Pay Attention After Michigan Weather Events
In metro Detroit, roof flashing takes a beating from snow, ice, high winds, temperature swings, and wind-driven rain. Ice dams can force water upward beneath shingles near eaves and roof transitions. Heavy snow can also conceal flashing damage until spring thaw exposes it.
After a strong storm, check for fallen branches, displaced shingles, damaged gutters, and debris piled in valleys. Then inspect the attic during the next rain. This two-part check is more useful than looking only at the roof after the weather has passed.
If your roof is older, be cautious about assuming a visible issue needs a small repair only. Flashing is integrated with shingles and underlayment. Replacing a chimney flashing section on a roof near the end of its service life may not be the best long-term value if surrounding shingles are brittle, worn, or already showing granule loss.
Do Not Rely on Caulk as a Permanent Repair
Homeowners often notice a small gap and reach for a tube of sealant. A limited sealant repair can be appropriate in the right location, but it should not be treated as a permanent fix for loose flashing, corroded metal, missing step flashing, or improper installation.
Caulk can crack as the roof expands and contracts. It can also trap water or redirect it behind the flashing if applied incorrectly. Roofing cement has a similar limitation: it may stop a leak briefly, but excessive use can make future repairs more difficult and hide the actual source of water entry.
Avoid lifting shingles, driving screws through flashing, or applying large amounts of sealant unless you understand the full detail beneath it. Penetrating the wrong area can turn a minor issue into a larger leak.
When to Call a Roofing Professional
Schedule a professional inspection if you see active leaking, interior staining, loose or rusted flashing, damaged vent boots, or storm-related roof damage. It is also wise to have flashing checked when you are planning a roof replacement, buying a home, or evaluating an older roof that has begun to need repeated repairs.
A qualified roofer should inspect the full system, not just smear sealant over the visible symptom. Ask for clear documentation of what is damaged, what repair is recommended, and whether the concern affects the shingles, underlayment, roof decking, chimney masonry, or gutters. A written, itemized scope gives you a clear basis for comparing options without guessing what is included.
For a full roof replacement, flashing details should be part of the documented installation scope. That includes chimney flashing, wall flashing, pipe boots, and other components that protect the roof’s vulnerable intersections. New architectural shingles cannot perform as intended if the transition details beneath and around them are compromised.
Make Flashing Checks Part of Routine Maintenance
Inspect roof flashing from the ground twice a year, ideally in spring and fall, and after severe weather. Keep gutters and roof valleys clear so water can move away from the roof as designed. Trim branches that scrape the roof or drop heavy debris near chimneys and valleys.
A careful inspection does not require you to become a roofer or take unnecessary risks. It gives you a practical way to catch warning signs before a small flashing issue becomes damaged insulation, stained ceilings, or a more expensive roof repair. When something looks questionable, a documented professional assessment is the safer next step and the best way to protect your home with zero surprises.
Need this done on your Downriver home?
Guthix Roofing is based in Wyandotte and serves Downriver and Wayne County. See roof leak repair from a licensed local roofer, or get an instant satellite-measured price in about a minute — just your name and mobile, no phone call.
Our full guide: The Michigan Homeowner's Seasonal Roof Maintenance Checklist, written by Greg Tittle.